 A Little Holiday Magic
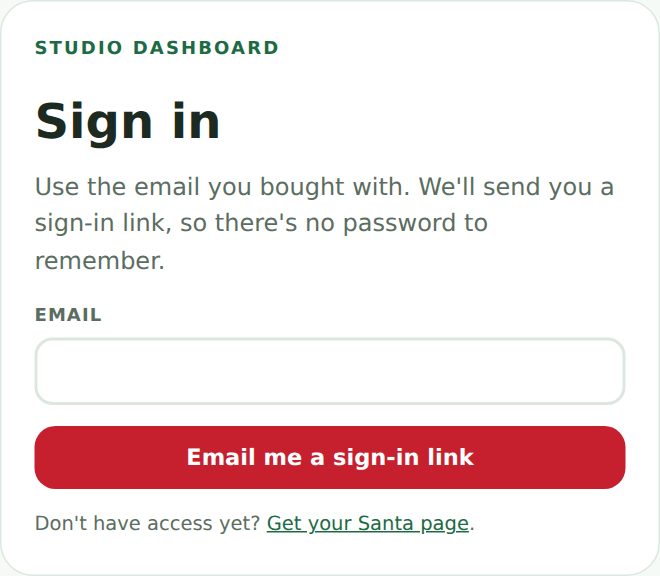
Sign in to your dashboard
There's no password. We email you a sign-in link each time.
- Go to alittleholidaymagic.com/dashboard
- Type the same email you used to buy.
- Click Email me a sign-in link.
- Open the email from A Little Holiday Magic and click the link. You're in.
Set up your Santa page
Everything is on the Settings tab. Fill in each box, then click Save changes at the bottom. Nothing goes live until you save.
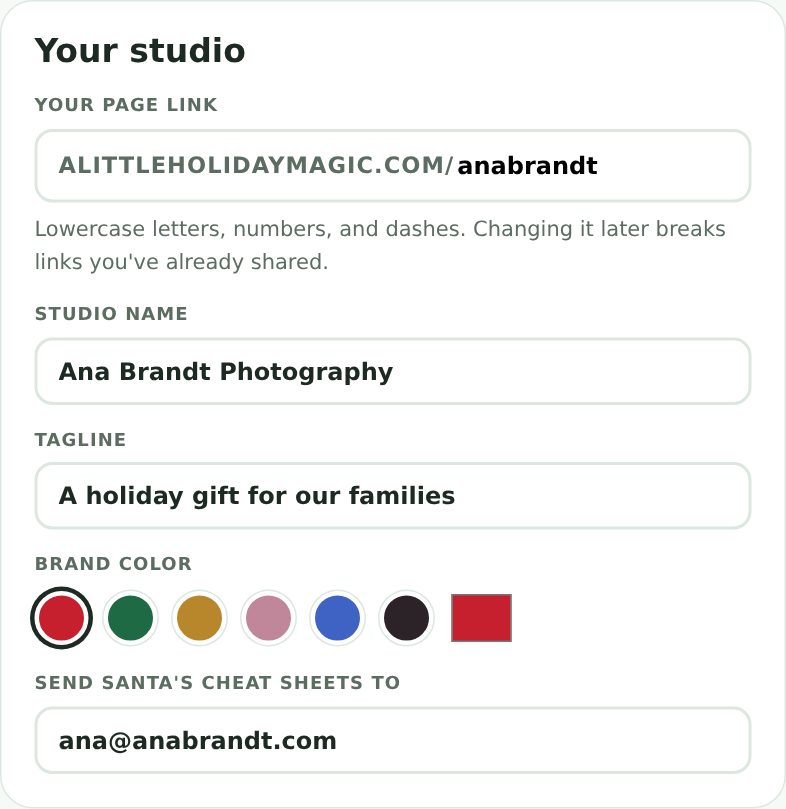
a. Your studio
- Your page link: the end of your web address, like
yourstudio. Use lowercase letters, numbers, and dashes. Pick carefully: changing it later breaks links you've already sent. - Studio name: shows on the page, the letter, the certificate, and every email.
- Tagline: a short line under your name.
- Brand color: tap a circle, or the square to pick your exact color.
- Send Santa's cheat sheets to: the email where you want each child's answers to arrive.
b. Your Santa photos
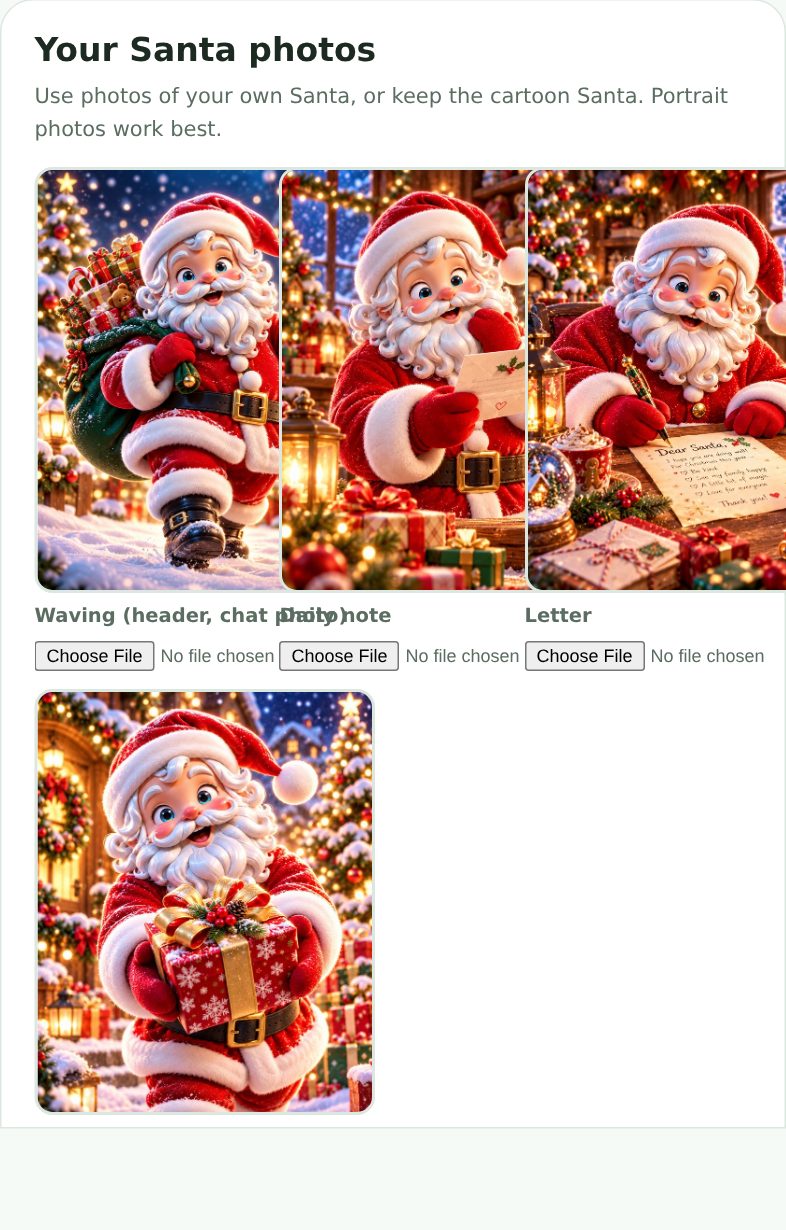
Use photos of your own Santa, or keep the cartoon Santa. There are four spots:
- Waving: the top of the page and Santa's chat photo. This one matters most.
- Daily note: beside Santa's note of the day.
- Letter: on top of Santa's letter.
- Wish list, goodbye: the wish list and the end of the chat.
c. Santa session days
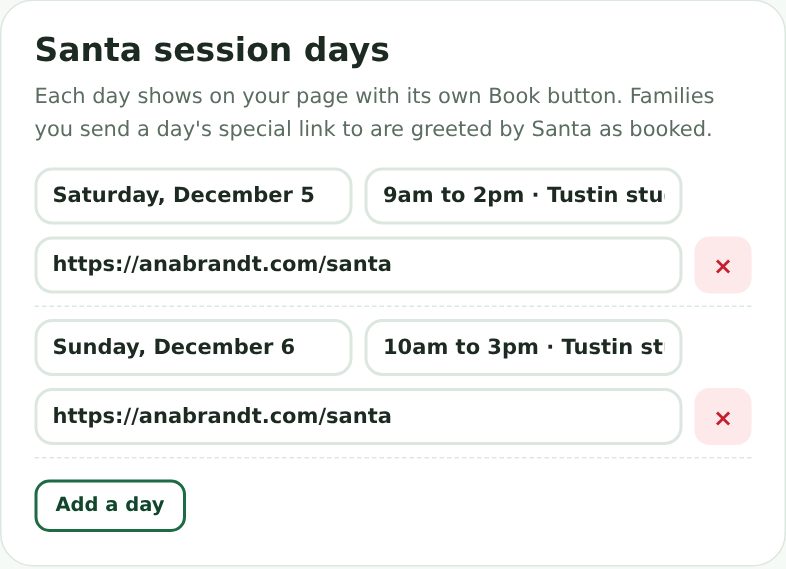
- Click Add a day for each day you're running Santa sessions.
- First box: the day, written like
Saturday, December 5. - Second box: the time and place, like
9am to 2pm · Main studio. - Third box: your booking link. It must start with
https://.
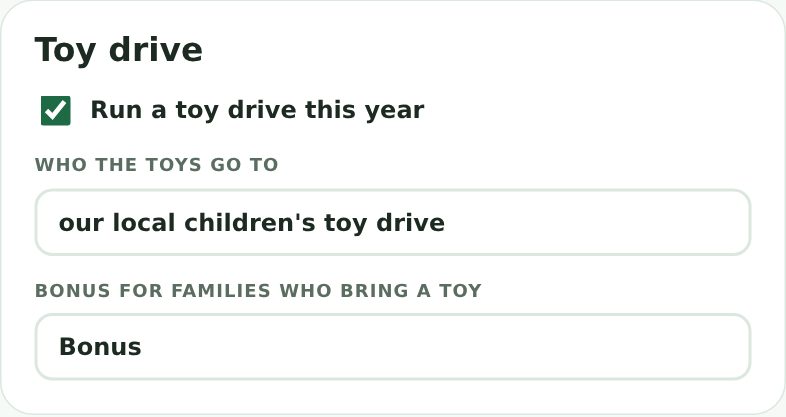
d. Toy drive (optional)
- Tick Run a toy drive this year to turn it on.
- Who the toys go to: for example, your local hospital or a toy drive near you.
- Bonus: what families get for bringing a toy, like a bonus image.
Kids see a "Santa's helper mission." Booked kids are asked by Santa himself. Parents see the bonus behind the grown-ups door.
e. Santa's daily notes
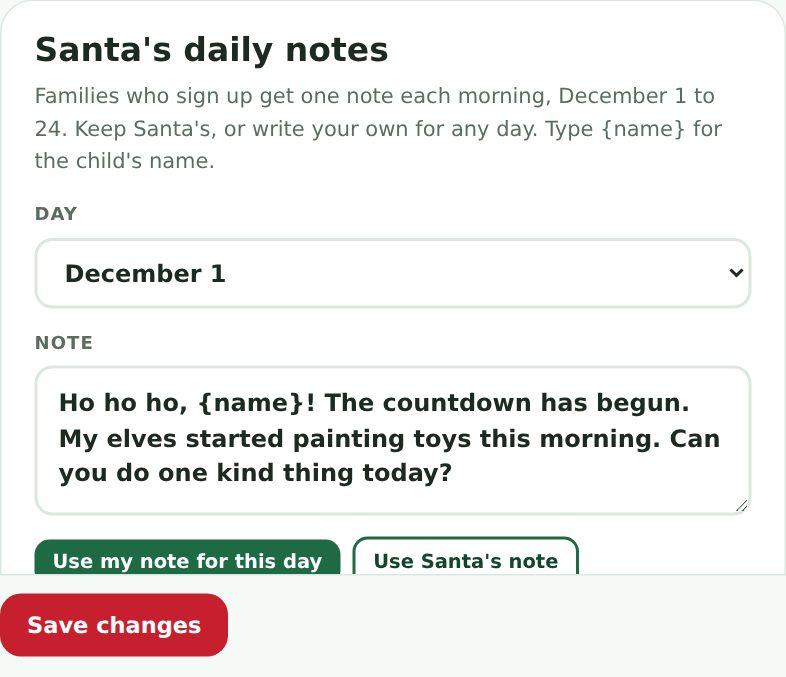
Families who sign up get a short note from Santa each morning, December 1 to 24. Santa's 24 notes are already written. To use your own for any day:
- Pick the day.
- Write your note. Type
{name}where the child's name should go. - Click Use my note for this day.
f. Tracker and gifts
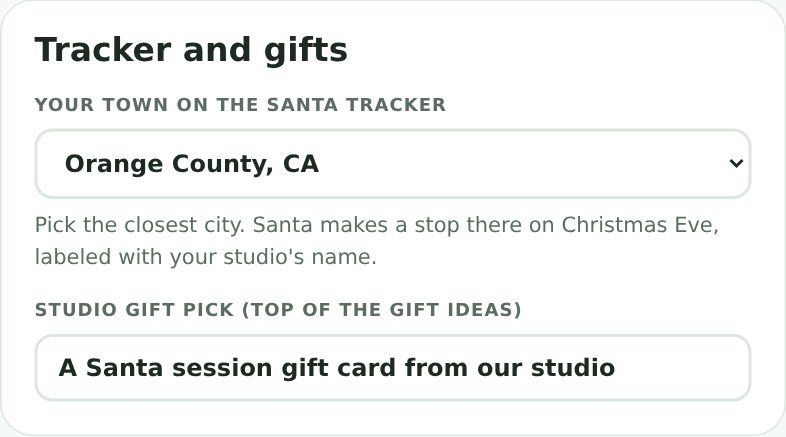
- Your town on the Santa Tracker: pick the closest city. On Christmas Eve, Santa stops there, labeled with your studio's name.
- Studio gift pick: shown at the top of the gift ideas parents see. A session gift card works well here.
g. Save
Click Save changes at the bottom. When you see "Saved. Your page is updated.", click View my Santa page at the top to see it live.

Share your link
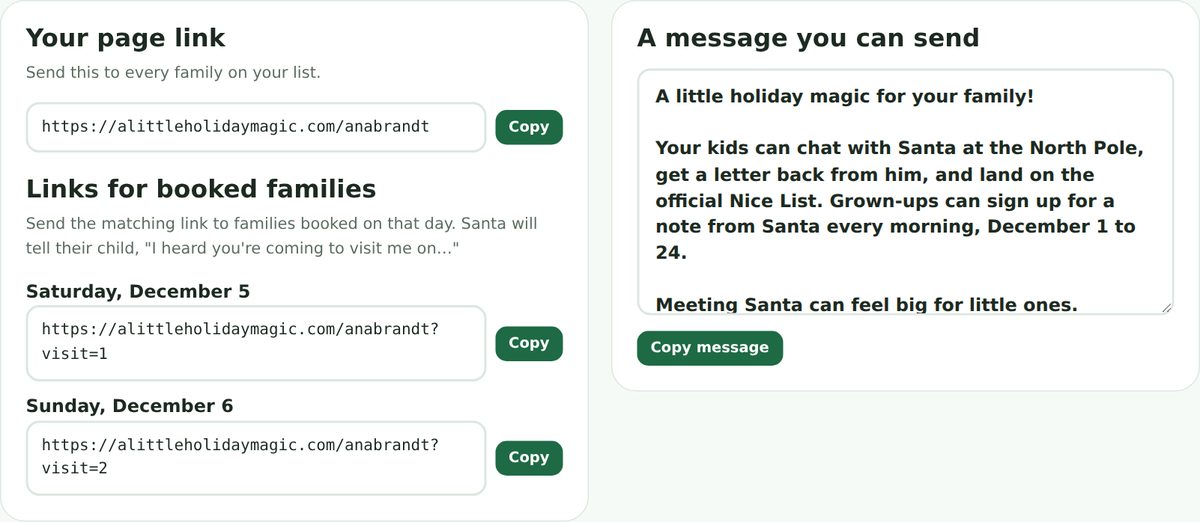
Open the Share tab. You'll find everything ready to copy.
- Your page link: send it to every family. Put it in your newsletter, Instagram bio, Facebook, and texts.
- Links for booked families: each Santa day has its own link. Send it to the families booked that day. When their child chats, Santa says, "I heard you're coming to visit me on Saturday, December 5!"
- A message you can send: ready-to-paste wording for email or text. Edit it any way you like.
What families see
Try it yourself: open your page and chat with Santa as a child would.
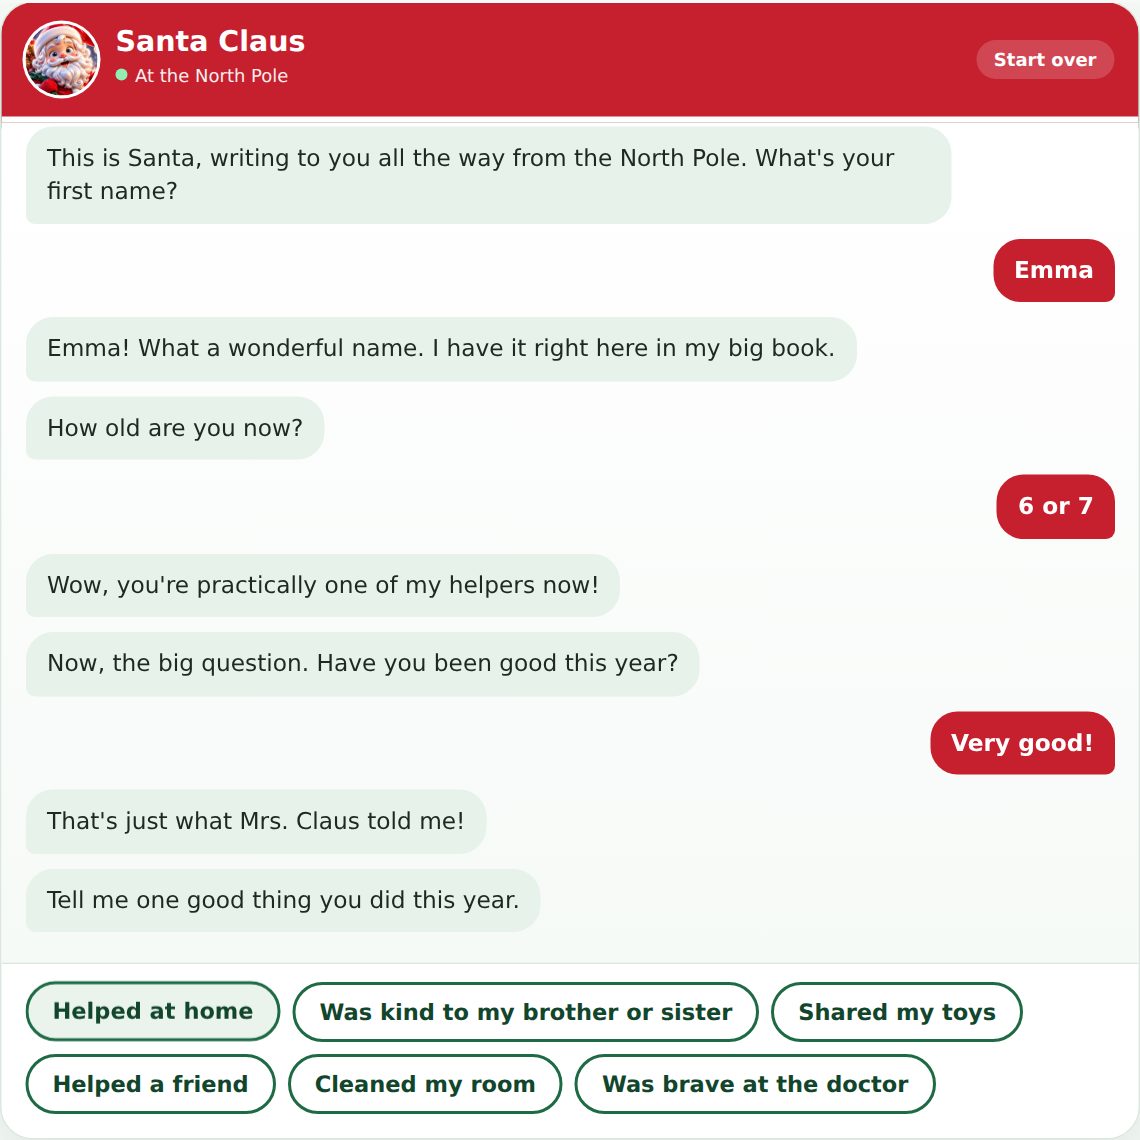
- The child chats with Santa by tapping answers: their name, age, a good deed, cookie, reindeer, pet, and wishes.
- Santa writes back a letter, puts them on the Nice List, and leaves a cookie recipe.
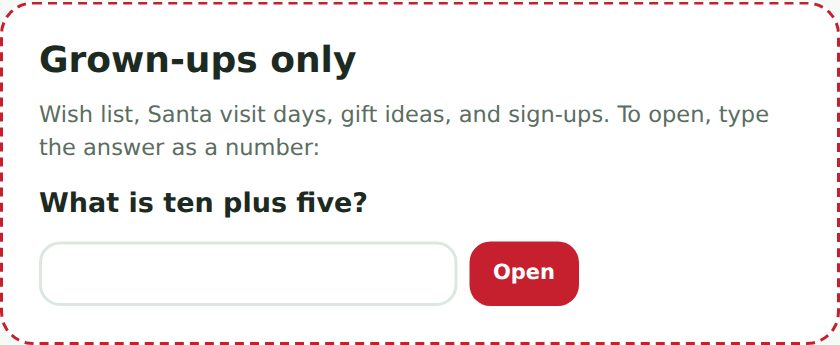
- A parent opens the grown-ups door by answering a simple math question, written out in words.
- Behind the door, the parent sees the wish list, your Santa days, gift ideas, and one form. They can get the letter by email, sign up for daily notes, and share the answers with you.
Before each Santa session
This is where the magic happens for you. Santa greets each child like an old friend.
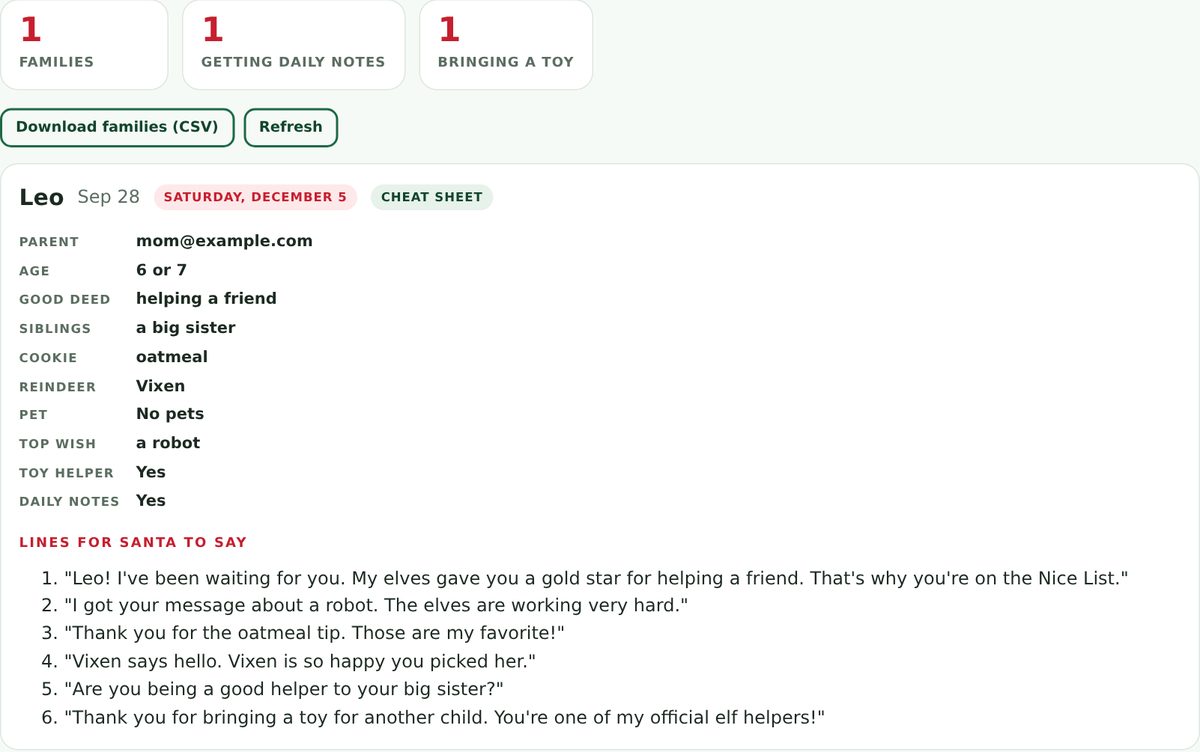
- Each time a parent shares their child's answers, a cheat sheet arrives in your email.
- All of them are also on the Families tab. Click a child's name to open theirs.
- Each one has Lines for Santa to say, like "Emma! My elves gave you a gold star for helping your little brother."
- Before the session, go over that day's families with your Santa. The red tag next to each name shows their session day. Click Download families (CSV) for a list you can print.
Your December calendar
A simple plan for the season.
Help and questions
My sign-in link doesn't work.
Use the newest email only; each new link cancels older ones. Links also expire after about an hour. Go back to the dashboard and request a fresh one.
It says it can't find my purchase.
Sign in with the exact email you used at checkout. If you just bought, wait a minute and refresh. Still stuck? Email us and we'll connect it.
I changed my photos but the page looks the same.
After uploading, click Save changes. Then refresh your Santa page.
A family says they didn't get their email.
Ask them to check spam or promotions for "Santa's Helpers." They can send it again from the grown-ups door.
Can I change my page link?
Yes, in Settings. But links you've already sent will stop working, so choose one you'll keep.
Do I need to do anything next year?
No. Your access is lifetime. Update your Santa days and photos each fall and you're ready.
Still need help? Email hello@alittleholidaymagic.com.